


One set of resistance bands replaces a large part of a gym. Long loop bands (power bands) give 5–60 kg of resistance for squats, deadlifts, rows, chest presses and assisted pull-ups; mini bands activate glutes and hips; tube bands with handles and a door anchor allow pressing and pulling in every direction. Resistance increases through the movement, which is gentle on joints and effective for muscles in the shortened position. With 12 exercises, three sessions a week and clear progression (more reps, heavier band, slower tempo) you build strength and muscle at home the same way you would with weights. A good home gym rarely needs more than bands, a pair of adjustable dumbbells or a kettlebell, a mat and something to hang from; the rest is convenience. Here are the exercises, the programme, the shopping list and how to use cupping for recovery.
Which resistance bands should you buy?
| Type | Used for | Worth knowing |
|---|---|---|
| Long loop bands (power bands, 104 cm) | Squats, deadlifts, rows, chest press, overhead press, pull-aparts, assisted pull-ups; the most versatile band | Buy three strengths (e.g. 5–15, 15–35 and 30–60 kg). Layered latex bands last longer than moulded ones; replace when white cracks appear |
| Mini bands (30 cm loop, fabric or latex) | Hips and glutes (lateral walks, clamshells, hip bridges), activation before leg and running sessions | Fabric bands don't roll up on the thighs; latex is easier to carry. Two strengths are enough |
| Tube bands with handles and door anchor | Rows, chest press, triceps, biceps, shoulder external rotation; closest to a cable machine | Buy with carabiners so bands can be combined; the door anchor goes on the hinge side or above the door, and the door must close in the direction you pull from |
| Long flat band without loop (therapy band) | Rehab, shoulders, external rotation, light movement after injury | Light resistance, good for the rotator cuff; tie or wrap around the hand |
Also get a door anchor, a mat and something sturdy to anchor the band at floor level (a heavy furniture leg, a post, or your feet). Check the bands before every session; a band that snaps mid-row hits the face.
12 resistance band exercises for the whole body
Legs and glutes
- Loop band squat: stand on the band hip-width, drape it over your shoulders (or hold it at the front of the shoulders with bent arms). Squat with knees tracking over toes, drive up. 3 × 10–15. Heavier band or a one-second pause at the bottom when it gets easy.
- Romanian deadlift with loop band: stand on the band, hold it with straight arms, hinge forward with a flat back and slightly bent knees until you feel the hamstrings, return by driving the hips forward. 3 × 10–12. Hamstrings, glutes and lower back.
- Banded lunge: front foot on the band, band over the shoulder on the same side. Lower the back knee toward the floor, up. 3 × 8–12 per leg.
- Hip bridge with mini band: lie on your back with knees bent, mini band above the knees, press the knees gently outward and lift the hips until the body is straight from knee to shoulder, hold two seconds. 3 × 15. Do it single-leg for more load.
- Lateral walk with mini band: band above the knees or around the ankles, soft knees, 10–15 steps each way with tension in the band throughout. 3 rounds. Outer hip and side glute; good before running and for knee problems in runners.
Back and pulling
- Seated row: sit with straight legs, band around the soles, pull the handles or band toward the stomach with elbows close to the body, squeeze the shoulder blades, let the arms go forward slowly. 3 × 12–15.
- Band pull-apart: hold the band in front at shoulder height with straight arms, pull apart until the band touches the chest, return slowly. 3 × 15–20. Upper back and rear shoulders; the counterweight to screen posture (tech neck and posture).
- Lat pulldown in the door or standing: anchor the band high (door anchor or over the door), squat or kneel and pull down toward the chest with wide elbows. 3 × 10–15. Or: use a thick band around a pull-up bar under your feet as assistance for pull-ups.
Chest, shoulders and arms
- Band chest press: band around the upper back below the shoulder blades (or in a door anchor behind you at chest height), press the hands forward to straight arms, return slowly. 3 × 10–15. Standing in a split stance, or as push-ups with the band over the back.
- Overhead press: stand on the band with one or both feet, hands at the shoulders, press up to straight arms without arching the back. 3 × 10–12. Note that the shoulders need mobility to press straight up.
- Biceps curl and triceps press: stand on the band, curl with elbows still, 3 × 12–15; then triceps: hold the band behind the neck with one hand and extend the other arm up, or anchor the band high and press down. 3 × 12–15. More in arm exercises at home.
- Shoulder external rotation: elbow at the side at 90 degrees, pull the band outward from the stomach with the forearm, slowly back. 2 × 15 per arm. Keeps the rotator cuff healthy as you press and pull heavier; important with shoulder impingement.
Technique for all of them: pre-tension the band so there is resistance in the start position, take two to three seconds on the lowering phase, and never let the band snap back. Leaving about three hard reps in reserve is right; the last two reps should be demanding but with the same technique.
Home training programme with bands: three sessions a week, eight weeks
Full-body sessions every other day (for example Monday, Wednesday, Friday), 35–45 minutes including a warm-up. Rest 60–90 seconds between sets, or alternate two exercises (supersets) to save time.
| Session | Exercises |
|---|---|
| Session A | Squat 3 × 12, chest press 3 × 12, seated row 3 × 12, hip bridge 3 × 15, overhead press 3 × 10, pull-apart 2 × 20, plank 3 × 30–45 s |
| Session B | Romanian deadlift 3 × 12, lat pulldown 3 × 12, lunge 3 × 10 per leg, push-ups (on knees or with band) 3 × max, lateral walk 3 × 12 each way, biceps curl 2 × 15, triceps press 2 × 15, external rotation 2 × 15 |
| Weeks 1–2 | Light to medium band, learn the technique, 2 sets instead of 3 in the first week |
| Weeks 3–5 | 3 sets, work reps up toward the top of the range; when you reach the top of the range in all sets with good technique, move to a heavier band or double bands and drop back to the bottom of the range |
| Weeks 6–8 | Add tempo (three seconds down, one-second pause) or a fourth set on squat, deadlift and row; the last week lighter as a deload |
Alternate A and B so that over two weeks you do A-B-A, B-A-B. If you prefer a split: upper body Monday and Thursday, lower body Tuesday and Friday, with core exercises at the end. With no equipment at all: see home workout without equipment, and for heavier legs leg and glute exercises at home.
What does a home gym actually need?
What you use three times a week for a year is worth the money; what looks good in the corner is not. A sensible order of priority:
- Resistance bands in three strengths, mini bands and a door anchor. Covers everything above, costs little, fits in a drawer.
- A mat and a yoga block or step to step up on (step-ups, box squats, elevated push-ups).
- Adjustable dumbbells or one or two kettlebells (e.g. 12 and 20 kg). Constant load and heavy deadlifts, swings, lunges and rows. This is what makes the biggest difference after the bands.
- A pull-up bar for the door frame or wall. Pull-ups and hanging do a lot for back, grip and shoulders; bands help you up to the first reps.
- Recovery tools: a set of massage cups for sore and stiff muscles, possibly a foam roller (comparison in foam roller or cupping).
- Last, if space and budget allow: barbell with plates and rack, bench, rower or bike for conditioning. Until then: walking, running, skipping rope, stairs.
A two-square-metre home gym with bands, dumbbells, a mat and a bar is enough for most goals; a programme you follow always beats equipment you don't use.
Pilates ball, stability ball and yoga blocks: cheap additions that do the most good
Three tools complement the bands and together cost less than a month's gym membership. A pilates ball (small, 20–25 cm, soft) is used between the knees in hip bridges and squats for the inner thighs and pelvic floor, under the lower back or between the shoulder blades as support in abdominal exercises, and under the foot for the arch; it makes dead bugs, hip bridges and side planks harder by squeezing it at the same time, and is the best tool for pelvic floor training and training after childbirth. A stability ball (large, 55–75 cm by height: 55 cm under 165 cm, 65 cm for 165–185, 75 cm above) is used for the plank with forearms on the ball, hip bridges with feet on the ball (hamstrings), wall squats with the ball behind the back, and as an unstable seat in short bouts; as an office chair all day it is no better than a good chair. Yoga blocks (two foam blocks) make stretching and yoga accessible by raising the floor (hands on blocks in forward folds and dog, a block under the hip in pigeon, under the sacrum in bridge), give support in squats (sit down onto the block for the right depth) and work as a "pilates ball" between the knees. A balance board or cushion for single-leg balance and ankle rehab is a fourth addition (balance exercises at home). Priority if you buy only one: the pilates ball if you train core, pelvic floor and after childbirth; the yoga blocks if you are stiff and want to get into yoga and stretching; the stability ball if you want to vary planks and hip bridges. Skip: vibration plates, ab trainers and "ab rollers", which do less good than an ordinary plank.
Muscle soreness and recovery between sessions: cupping
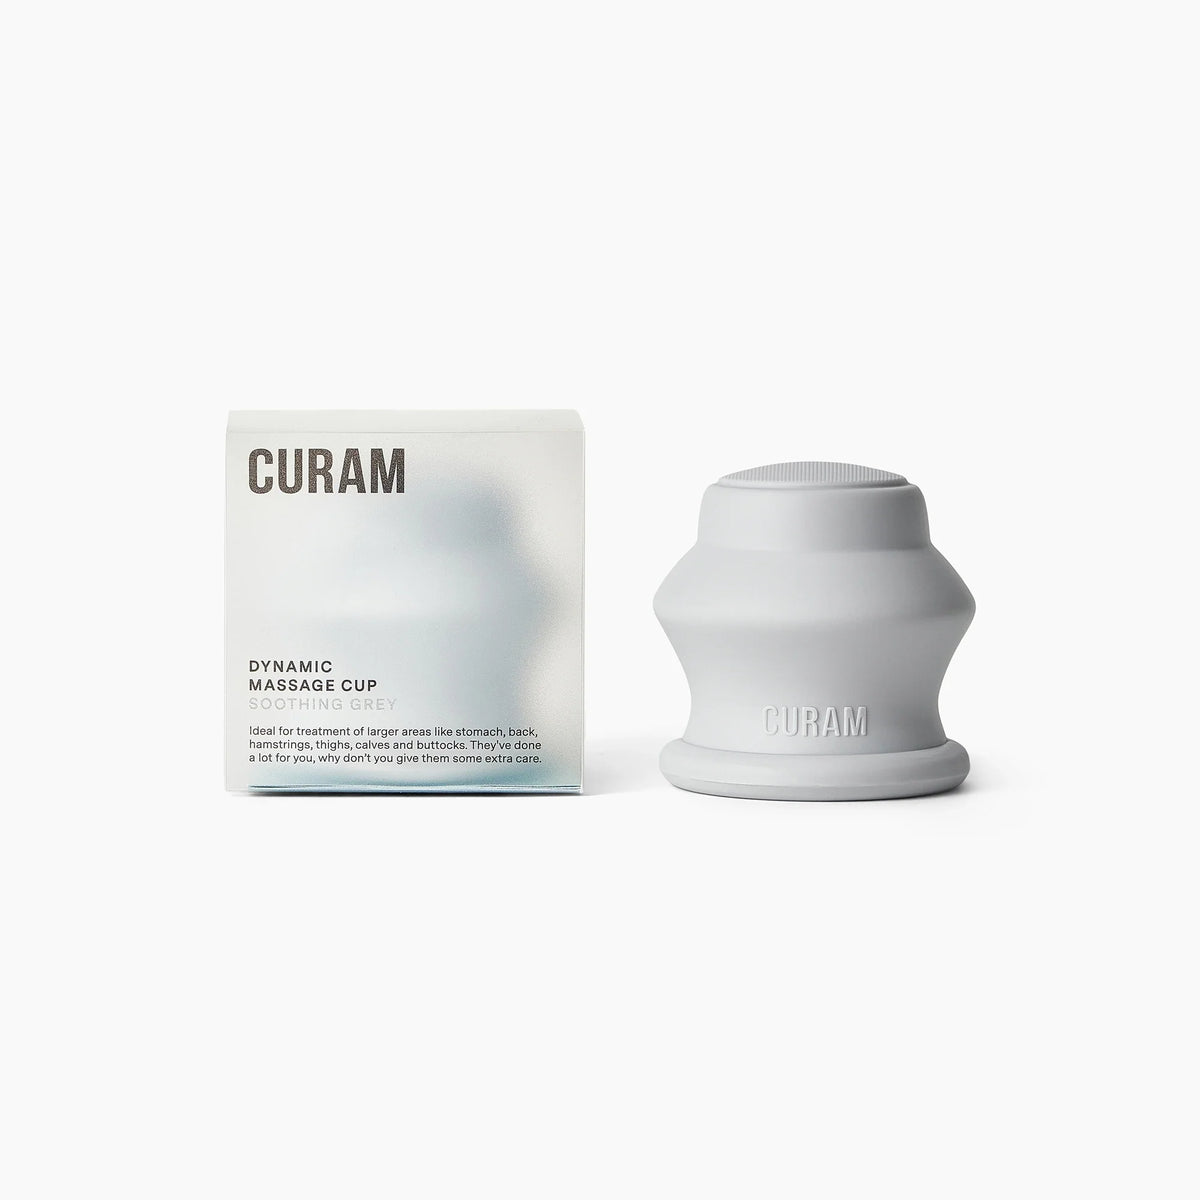
The first weeks bring muscle soreness, especially in thighs, glutes and chest. Cupping after the session or the next day increases blood flow in the tired muscle, loosens the fascia and reduces stiffness so the next session feels easier. Use the dynamic cup with massage oil: 1–2 minutes per muscle group (front thigh, hamstrings, glutes, outer chest, upper back), long strokes along the muscle with light suction, never over the kneecap, spine or armpit. To leave a cup on a stiff spot in the upper back for 3–5 minutes, the static cups are the right tool. Don't cup over fresh bruises, damaged skin or a muscle that is acutely painful. The full approach to rest, sleep, food and cupping is in recovery after training, and programmes for people who train in the cupping programmes.
Frequently asked questions
Can you build muscle with resistance bands?
Yes. Muscles grow from load taken close to fatigue, not from which tool the load comes from. With heavy enough bands, 8–20 reps with two to three reps in reserve, three sets per exercise and increasing load over the weeks, you get the same stimulus as with weights. The limit is heavy leg and back exercises, where weights eventually become more practical.
Which resistance bands should I start with?
A set of long loop bands in three strengths (roughly 5–15, 15–35 and 30–60 kg), two mini bands for hips and glutes, and ideally tube bands with handles and a door anchor. Layered latex lasts longer than moulded. Check the bands before every session and replace them when cracks appear.
How often should you train with resistance bands?
Two to three full-body sessions a week with a rest day between is enough for strength and muscle; each muscle group should be trained twice a week. Light activation exercises with mini bands can be done daily. Progression matters more than frequency: more reps, heavier band, slower tempo.
What do you need to train at home?
Bands, a mat and something to step up on are enough to get started. The next step is adjustable dumbbells or kettlebells and a pull-up bar. Barbell, bench and a cardio machine are luxuries that only pay off if you already train regularly. Massage cups for recovery are a cheap addition that helps you keep up the sessions.
Does cupping help muscle soreness?
Cupping increases blood flow and reduces stiffness in a sore muscle, so it feels softer and moves more easily; the soreness itself passes in two to three days regardless. Cup lightly and briefly (1–2 minutes per muscle) after the session or the day after, not hard on a muscle that already hurts.
Related guides
- Sauna, cold plunge and ice baths – recovery that works
- Kettlebell and dumbbell exercises at home – 12 moves and programme
Written by Curam. Last updated 17 October 2026. This is general self-care information and does not replace medical care. For sudden, severe or unusual symptoms, contact your doctor. Talk to your doctor before cupping if you are pregnant, take blood thinners or have a condition affecting skin, blood vessels or blood.


